[Infographic] How to Turn Your Gutters into a Bookshelf
Books will never be outdated. Reading is fun, educational, and most of all – inspiring. And while book readers like Kindle become more widespread and accessible, nothing can replace the feel of holding a book in your hands. If you are a reading enthusiast, surely you have tones of books lying in your home.
In this post, we will show you a clever way of using your old gutters to store your favourite books, by building your very own DIY gutter bookshelf.
How to turn your old rain gutters into a bookshelf
There is an easy, cheap, and stylish alternative for the wooden bookshelf in your home. And that’s vinyl gutters. You can build them all by yourself, without having five years of experience as a handyman tackling guttering problems. Just follow the steps.
Items you need
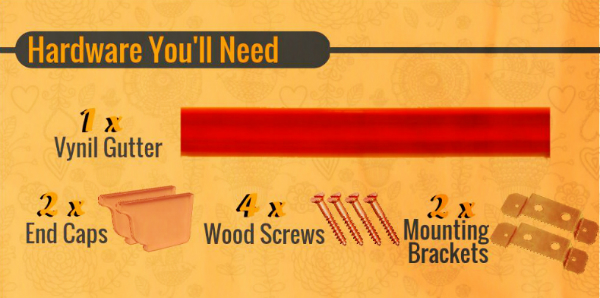
The hardware you’ll need:
- One vinyl gutter. If you don’t like the colour, or if it has rust on it, consider repainting it before you start.
- Two gutter end caps. Make sure they will fit.
- Four screws.
- [Optional] Two mounting brackets.
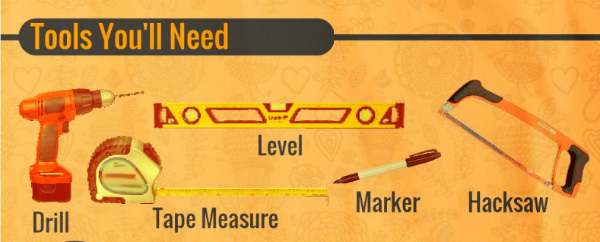
Tools to use
Nothing really out of the ordinary here. The project requires basic tools every man should have. You could also add a stud finder, but a simple knock`n`listen technique was enough for us not to drill through any pipes or electric wires.
Step 1: Preparation
Decide how long your gutter bookshelf will be. You can go wild here. Corner shelves, strange forms, etc. Just cut accordingly, be careful and remember – better to cut less than attended and correct afterwards.
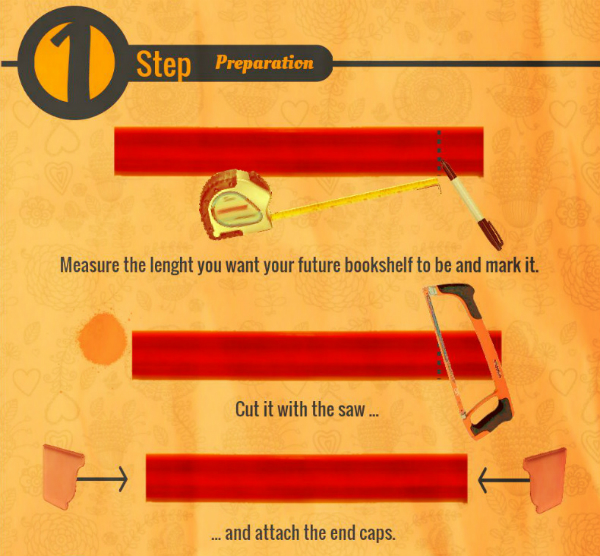
Attach the gutter caps when you are done cutting.
Step 2: Marking
After you’ve decided where exactly your future rain gutter bookshelf shall be, start marking the spot. Use the marker to label where the screws will be. Try to hold the vinyl gutter over it’s future spot and use your level to place it as horizontally as possible.
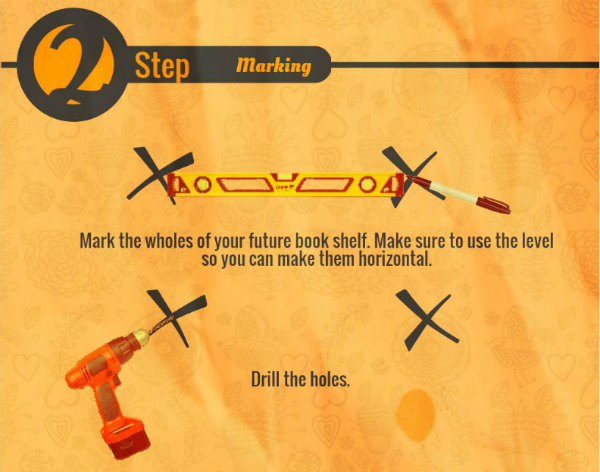
After you’re sure you’ve picked the right places, drill small holes for the screws.
Step 3: Montage
The final stage of this project is actually installing the gutter to the wall. By now you should have shaped the vinyl gutter to the size you require. Drill two holes in the back of it and attach it to the law using the screws. You can put mounting brackets for extra stability. 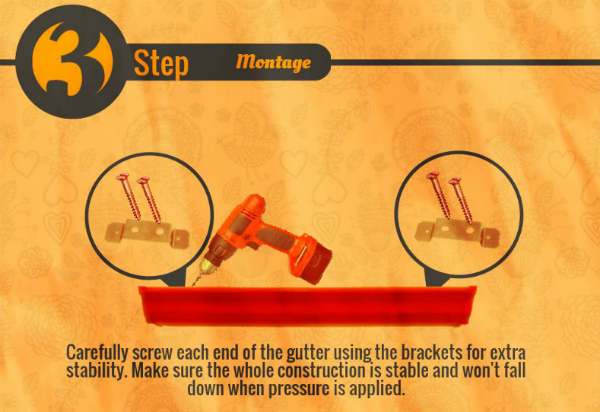
Once mounted, make sure your new gutter bookshelf will withstand the extra weight from the books. Put some pressure over it by pushing it down with your hands. If it is stable and doesn’t swing, you are okey. If it swings, tighten up the screws until it’s stable.
Enjoy your new gutter bookshelf
There you have it, easy, cheap, and fancy new home for your books to be displayed. If you liked the tutorial you can find the full infographic here.

And remember, for every guttering issue you can’t handle, we are here to help. Don’t feel shy to contact us.